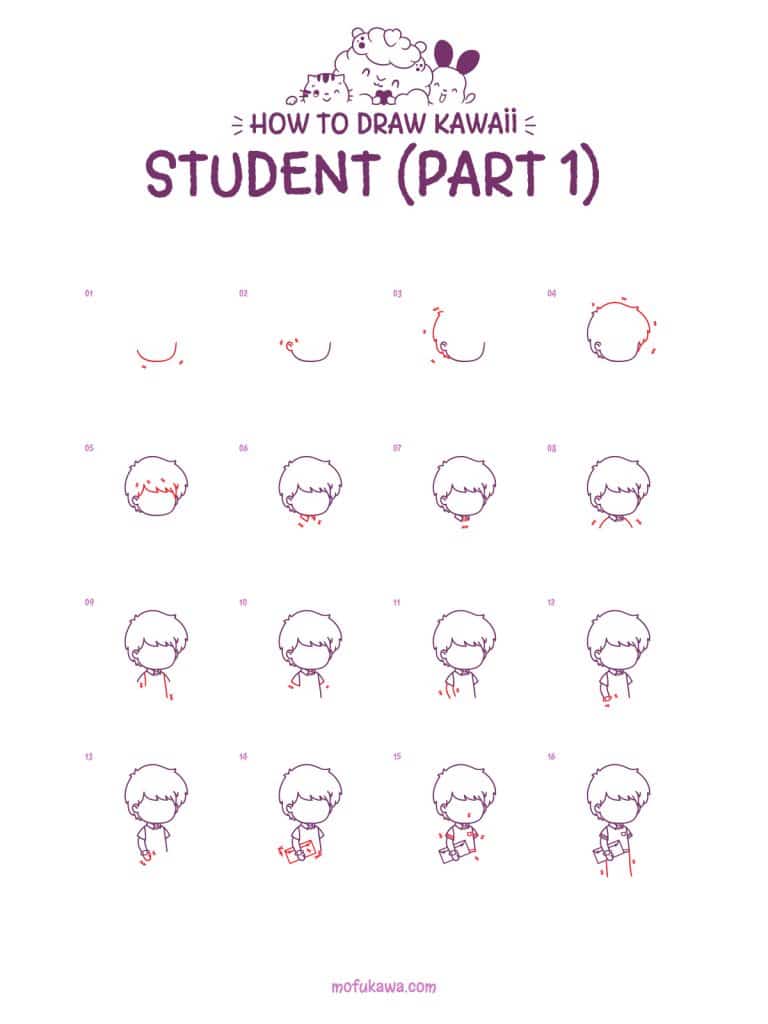
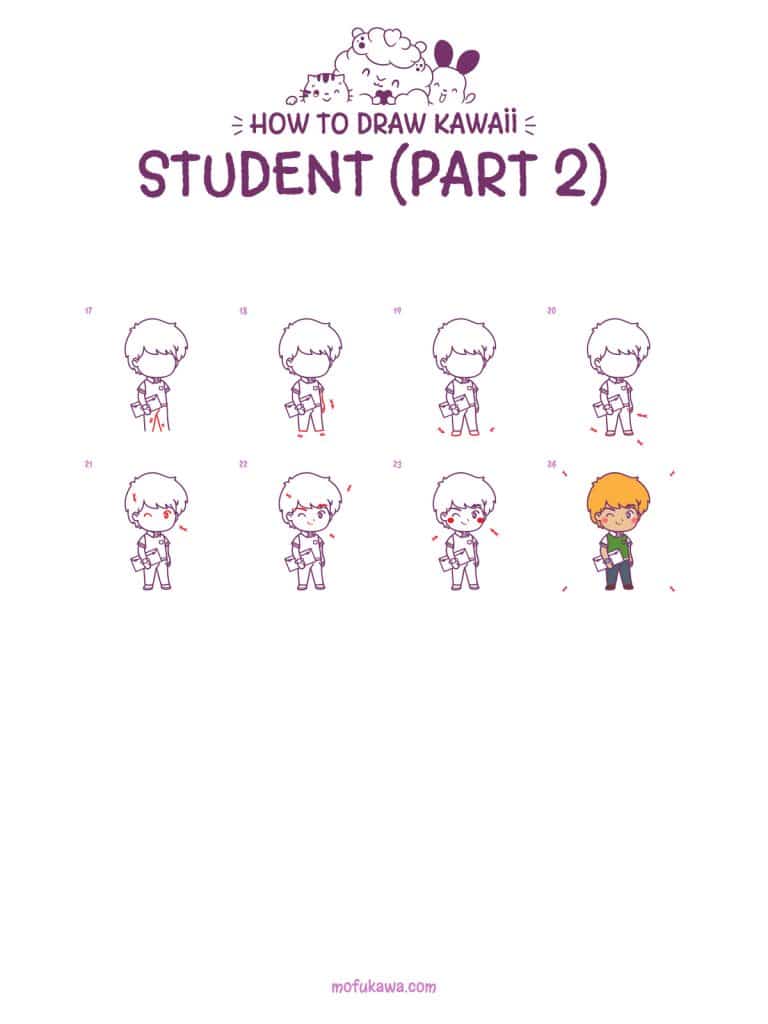
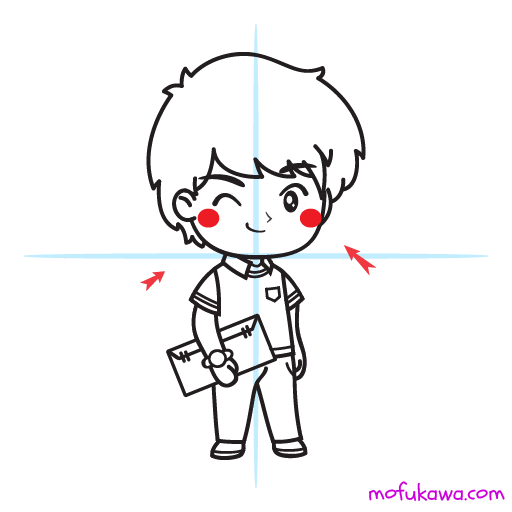
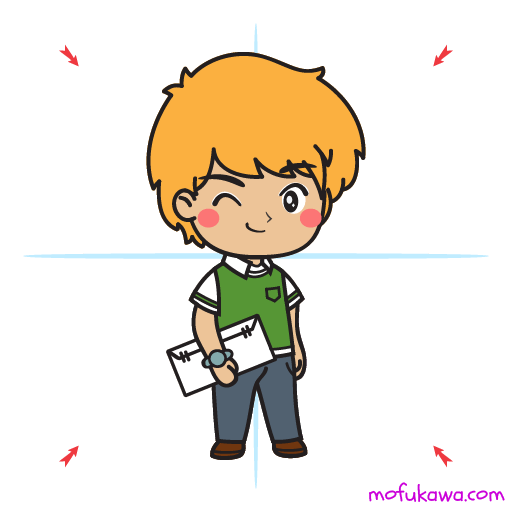
Today, let’s try learning how to draw a student in our usual kawaii art style, using our easy to follow step by step outline, which you can see if you scroll down a bit further.
We’ve drawn a lot of characters but not too many where we take a regular human and turn them kawaii. If you missed one of our earlier videos, you can watch it to learn how to draw a cute girl.
Since we drew a girl last time, we thought it would be best to try a boy this time around. Feel free to change the hair/skin color to match whatever you’d like!
If you like what you see, don’t forget to check out our youtube channel and like/subscribe to help show support so we can keep providing more art lessons.
Contents
Art Supplies
Here’s a list of coloring supplies we recommend to use, however, feel free to use whatever you can find around the house!
- Pencil, Marker, Sharpie, Pen (Anything you can draw with!)
- Paper (We love marker paper but use anything you can find).
- Colored Markers (if you want to color the drawing).
Here are what we think are the best colored pencils, best gel pens and best markers for coloring. - Your imagination (feel free to change colors or add things to the drawing!).
If you are already a fan of a particular marker/coloring brand you may want to check out a few of our other guides such for popular brands such as Ohuhu markers, Artzea and Prismacolor markers.
Otherwise, just pick whatever coloring tools you have around the house (crayons, markers, pencil crayons etc.) and just have some fun!
A Few Tips Before You Start Drawing
- Drawing a kawaii student is fairly straight forward. The hair will be the most complicated but don’t worry about making it perfect. In fact, you can add some spikes to the top or get creative with it!
Let’s Draw A Student – Step By Step


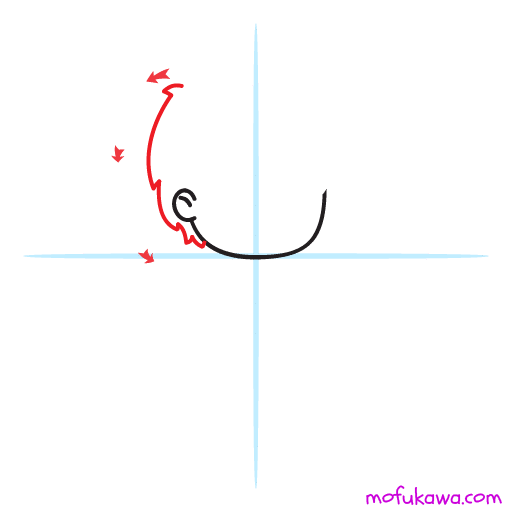
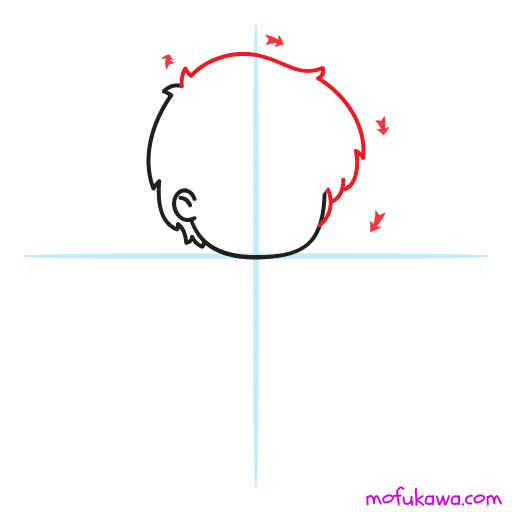
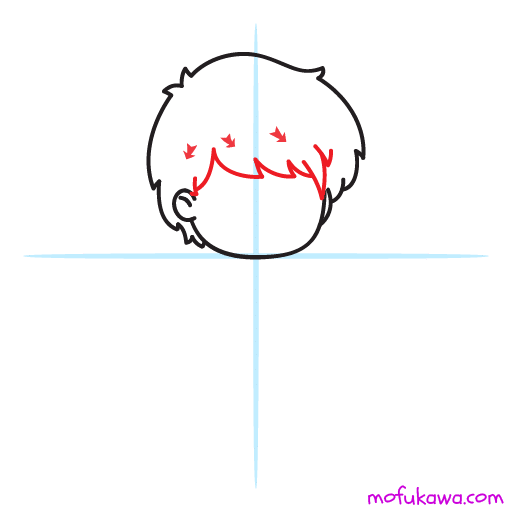
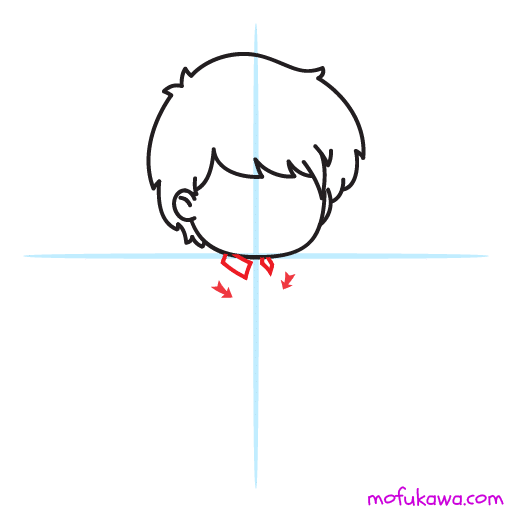
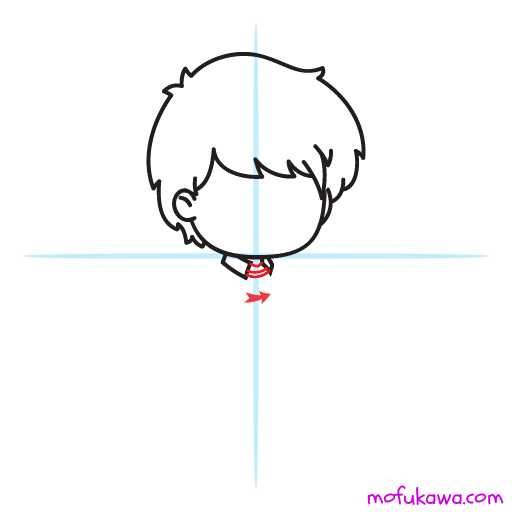
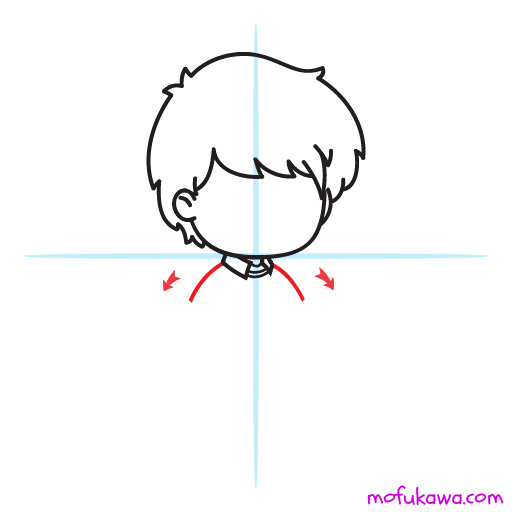
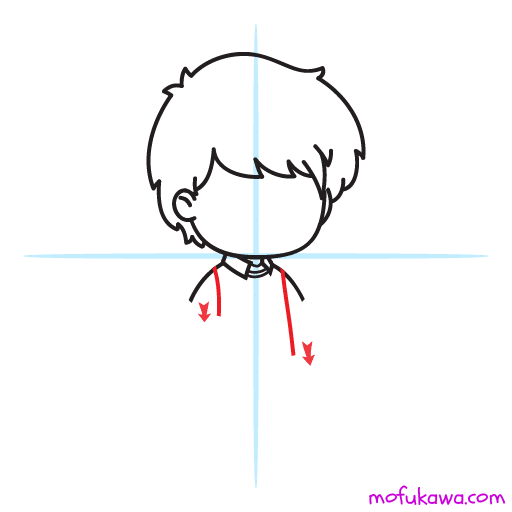
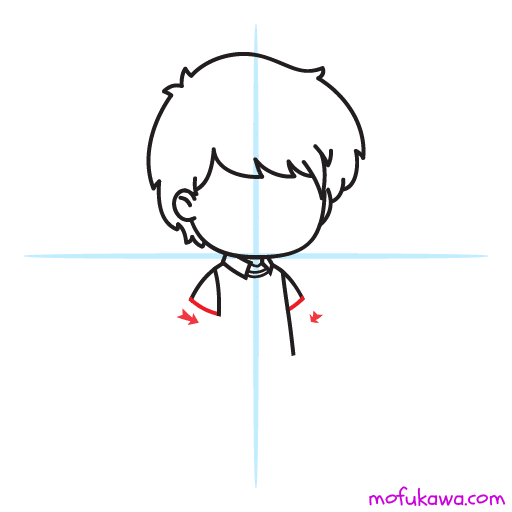
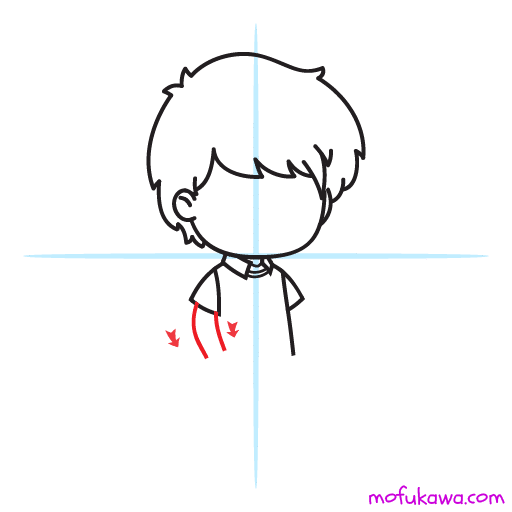
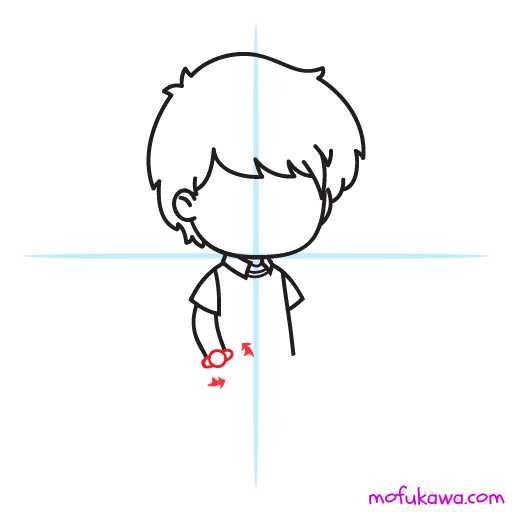
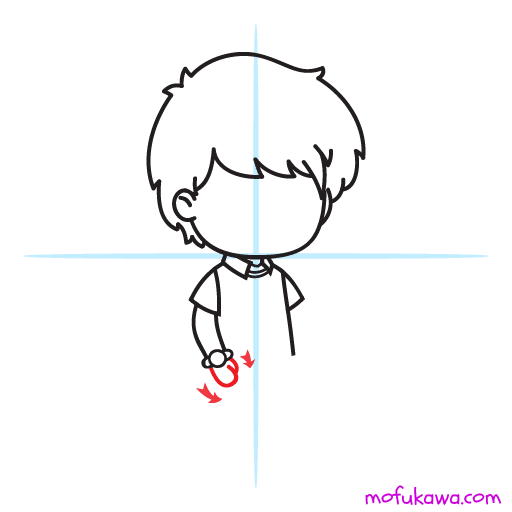
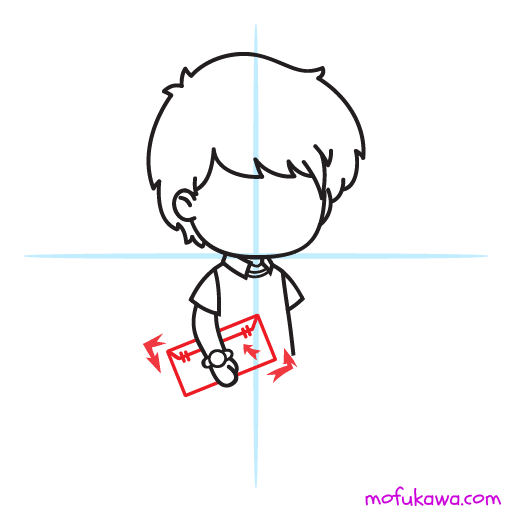
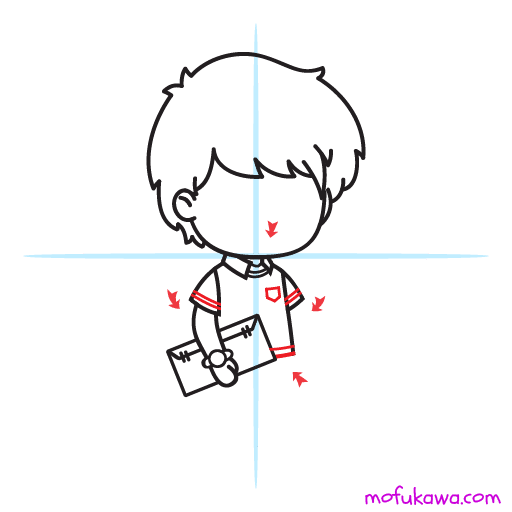
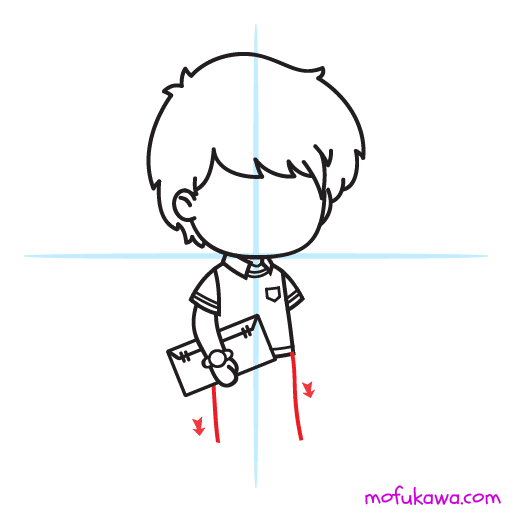
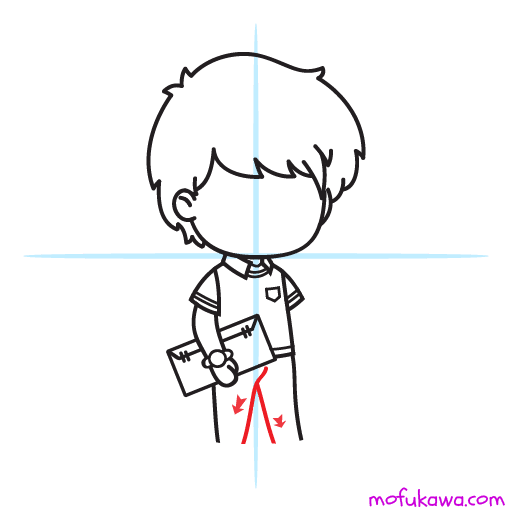
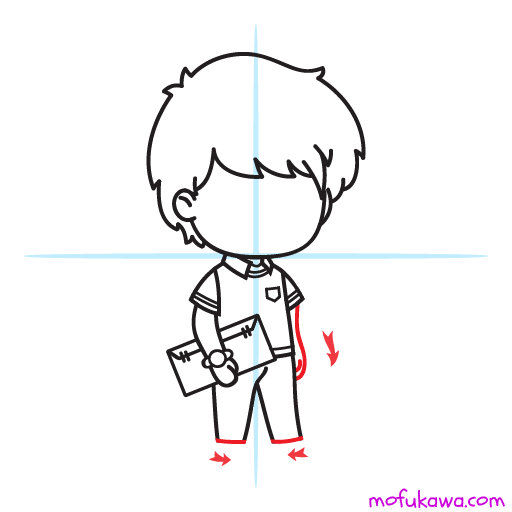
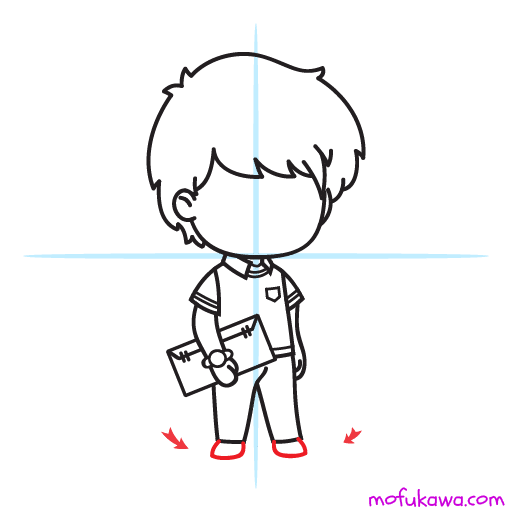
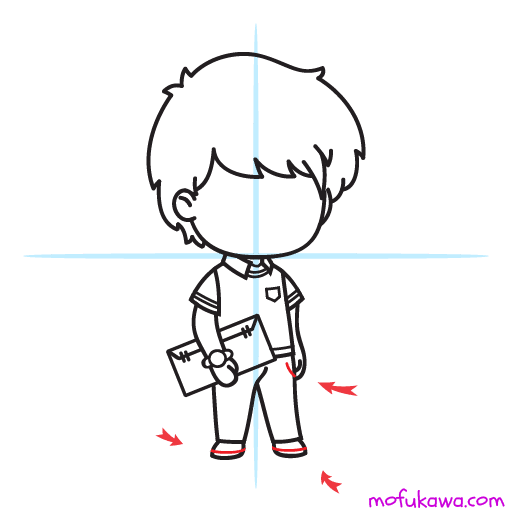
Add his other arm and hand on the side, too.
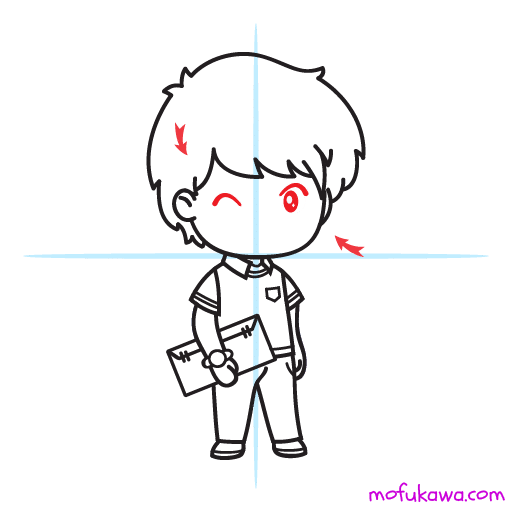
Draw the two downward curves first – with the outer edges slightly thicker or bolder. Draw a round shape on the right eye with a little circle (on the upper left) that will remain white.
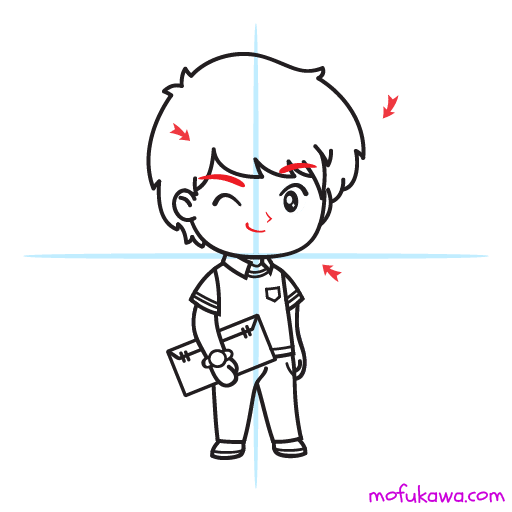
Add a little stroke for the mouth, and nose.
Want More?
We are constantly adding more tutorials on how to draw kawaii characters and objects. Great for beginners and more advanced artists. We also have printable step by step instruction guides that will help, even brand new artists, re-create and improve on our drawings!
How about coloring instead? We have printable cute coloring pages so you can practice color techniques or just to have fun. Head on over to our coloring page section of our website to search and download them all!
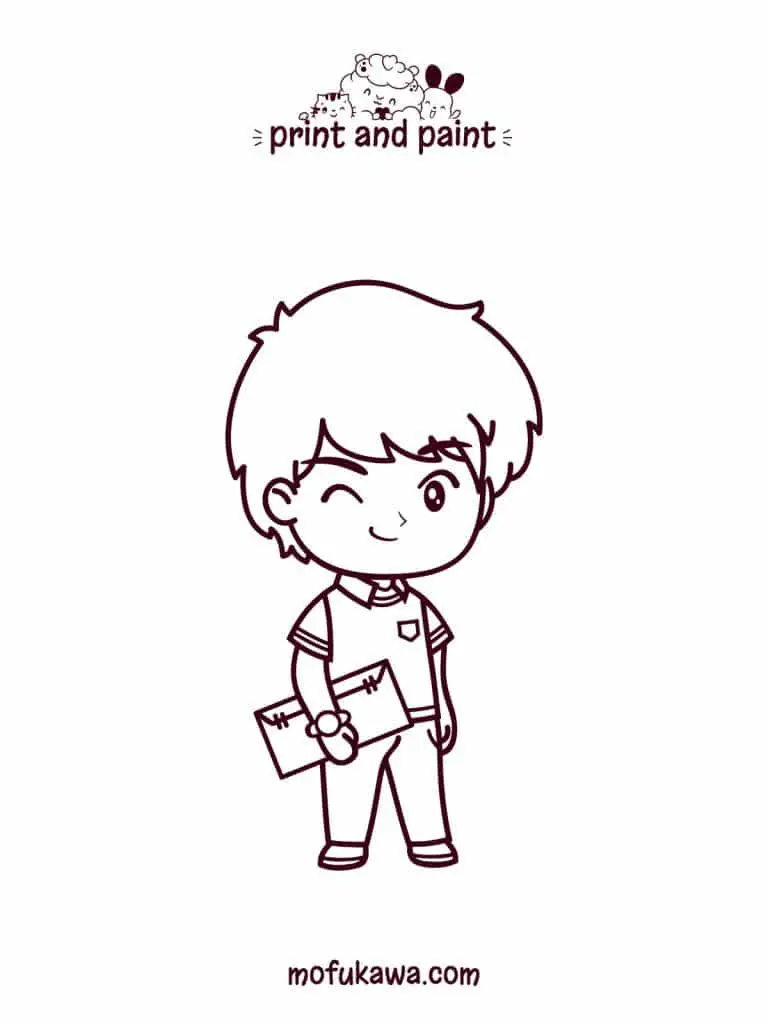
Just want to download a coloring page of this specific character? Click the print button below to print off this lesson’s coloring & tracing pages.
Printable Student Coloring Page
Here’s where you can download the student coloring page & step by step instructions. You can use the coloring page to practice coloring the character and the step by step instructions are great if you are not near a computer or phone and want to try this lesson out!
Click the print icon to open print options for these pages. You can also click the image and save it directly to your device.
Check us out on social media with the links below.
Are you interested in coloring more?
Coloring characters such as this student can be A LOT of fun. Especially when they look so cute : )
If you had fun coloring this character, you may want to check out our kawaii coloring book which is available at Amazon. We also have some information on our site for more complex coloring for older kids and adults. You can check out our favorite adult coloring books and some of our top choices for color by number books for adults (which tend to be easier to start with).

